Seasonal Hardscape Maintenance: Preparing Your Outdoor Space for Winter
Adam Lawson • October 13, 2025
As winter approaches, protecting your outdoor hardscapes—such as patios, walkways, and driveways—becomes essential to maintain their beauty and longevity. Harsh weather conditions like freezing temperatures, snow, and ice can damage surfaces if not properly managed. This guide provides practical tips for winter hardscape maintenance, including sealing surfaces, preventing cracks, and safe snow removal to keep your outdoor space in top shape.
Why Winter Hardscape Maintenance Matters
Hardscapes are a significant investment, adding functionality and aesthetic appeal to your property. However, winter’s freeze-thaw cycles, moisture, and snow can cause cracks, discoloration, or surface deterioration. Proper preparation prevents costly repairs and ensures your hardscape remains durable and visually appealing.
Key Benefits of Winter Preparation
- Prevents Cracks:
Proper sealing and maintenance reduce the risk of water seeping into surfaces and freezing, which can cause cracks.
- Extends Lifespan: Regular care protects materials like concrete, pavers, and natural stone from weather-related damage.
- Maintains Appearance: Clean, sealed surfaces resist stains and fading, keeping your outdoor space looking pristine.
- Ensures Safety: Clearing snow and ice properly prevents slippery surfaces and structural damage.
Step-by-Step Guide to Prepare Your Patio for Winter
Follow these steps to ensure your hardscape is ready to withstand winter’s challenges.
1. Clean Your Hardscape Thoroughly
Before sealing or storing outdoor items, give your hardscape a deep clean to remove dirt, debris, and stains that could worsen over winter.
- Sweep and Wash: Use a broom or leaf blower to clear leaves, dirt, and debris. Power wash surfaces like concrete or pavers to remove stubborn stains. For natural stone, use a mild detergent and soft brush to avoid scratching.
- Remove Weeds: Pull weeds from joints or cracks between pavers to prevent root expansion during freeze-thaw cycles.
- Check Drainage: Ensure drains and channels are clear to prevent water pooling, which can freeze and damage surfaces.
2. Seal Surfaces for Protection
Sealing your hardscape creates a protective barrier against moisture, ice, and de-icing chemicals, which is critical for hardscape crack prevention.
- Choose the Right Sealant: Select a sealant suited for your material (e.g., penetrating sealers for concrete, enhancing sealers for pavers). Check manufacturer recommendations.
- Apply Properly: Clean and dry the surface completely before applying sealant. Use a roller or sprayer for even coverage, and apply at least two coats for optimal protection. Avoid sealing in high humidity or temperatures below 50°F (10°C).
- Reapply as Needed: Most sealants need reapplication every 1–3 years, depending on exposure to weather and foot traffic.
3. Inspect and Repair Cracks
Small cracks can worsen during winter due to freeze-thaw cycles. Addressing them now prevents larger issues in spring.
- Assess Damage: Inspect surfaces for cracks, loose pavers, or uneven areas. For concrete, look for hairline fractures; for pavers, check for shifting or gaps.
- Fill Cracks: Use a high-quality concrete crack filler or masonry caulk for small cracks. For larger damage, consult a professional to replace sections or re-level pavers.
- Stabilize Joints: For paver patios, add polymeric sand to joints to lock pavers in place and prevent shifting.
4. Prepare for Snow and Ice Removal
Safe snow and ice removal is crucial to avoid damaging your hardscape while keeping surfaces safe for use.
- Use the Right Tools: Opt for plastic shovels or snow blowers with rubber blades to avoid scratching surfaces. Avoid metal shovels, which can chip or gouge materials.
- Choose Safe De-Icers: Avoid rock salt (sodium chloride), which can erode concrete and pavers. Instead, use calcium magnesium acetate (CMA) or potassium chloride, which are gentler on surfaces. Apply sparingly to minimize runoff.
- Clear Snow Promptly: Remove snow before it compacts into ice. For light snow, a broom may suffice to avoid unnecessary scraping.
5. Protect Outdoor Features
Winterize other hardscape elements like retaining walls, fire pits, or outdoor kitchens to prevent damage.
- Cover Furniture and Features: Use weatherproof covers for outdoor furniture, grills, or fire pits to shield them from snow and ice.
- Drain Water Features: Empty fountains or water features to prevent freezing and cracking.
- Secure Loose Items: Store or anchor lightweight items like planters to prevent them from toppling in strong winter winds.
Additional Tips for Winter Hardscape Maintenance
- Avoid Heavy Loads: Minimize heavy equipment or vehicles on hardscapes during winter, as frozen surfaces are more prone to cracking under pressure.
- Monitor Weather: After heavy snow or ice storms, inspect your hardscape for new damage and address it promptly.
- Plan for Spring: Schedule a post-winter inspection to clean and reseal surfaces, addressing any minor damage before it worsens.
Conclusion
Proper winter hardscape maintenance ensures your outdoor space remains functional, safe, and beautiful through the colder months. By cleaning, sealing, repairing cracks, and using safe snow removal techniques, you can protect your investment and avoid costly repairs. Start preparing your patio for winter now to enjoy a hassle-free spring.
For more tips or professional assistance, contact Us today to assess your specific needs. Stay proactive, and your hardscape will thrive year-round!
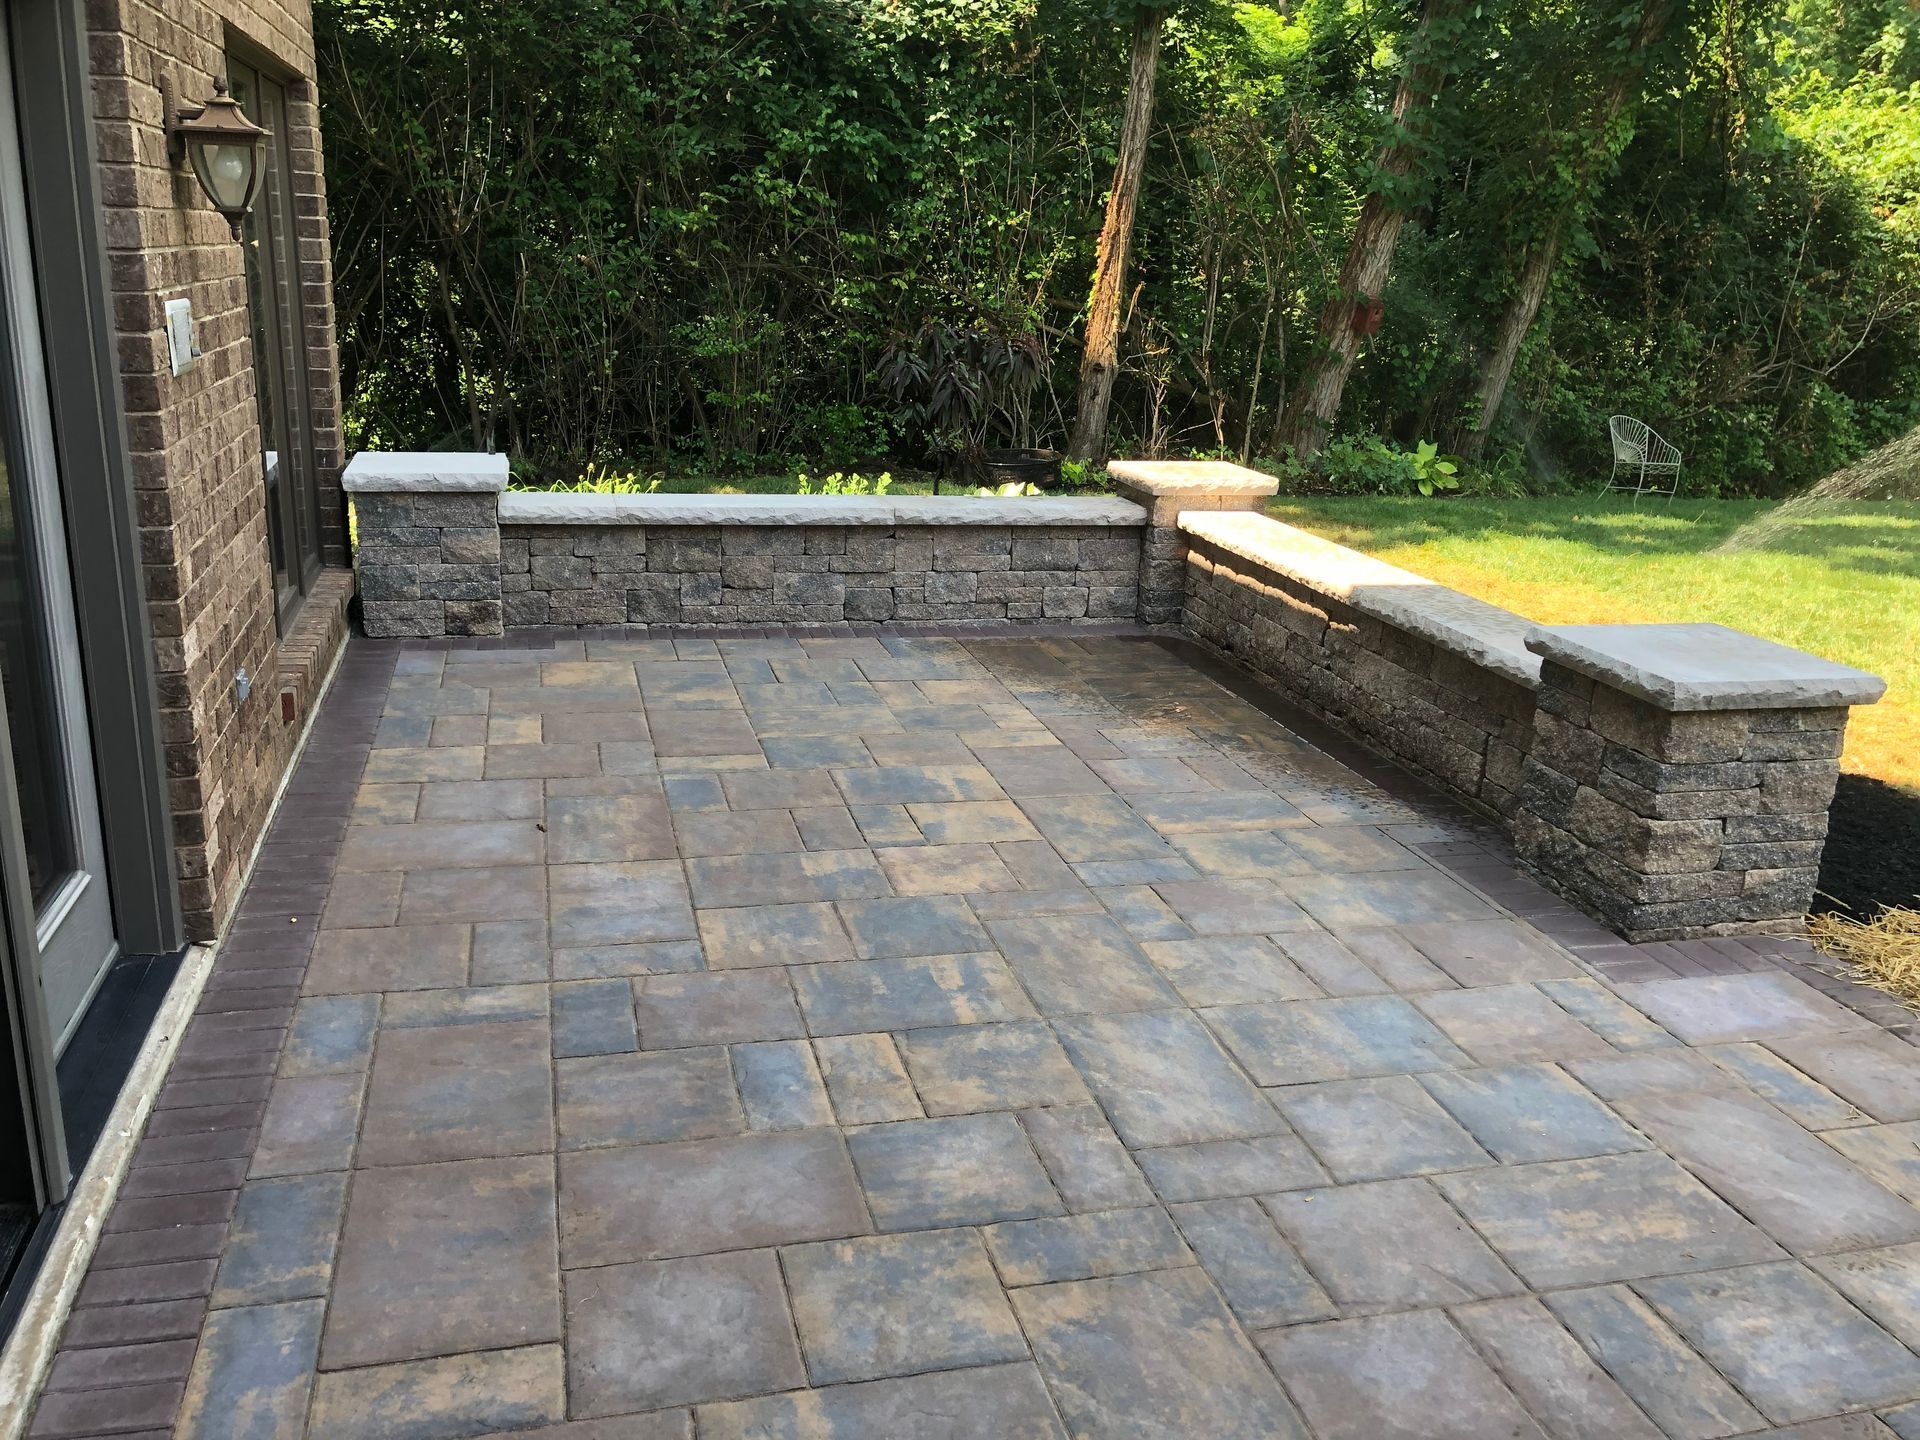
Paver patio with sitting wall and columns.
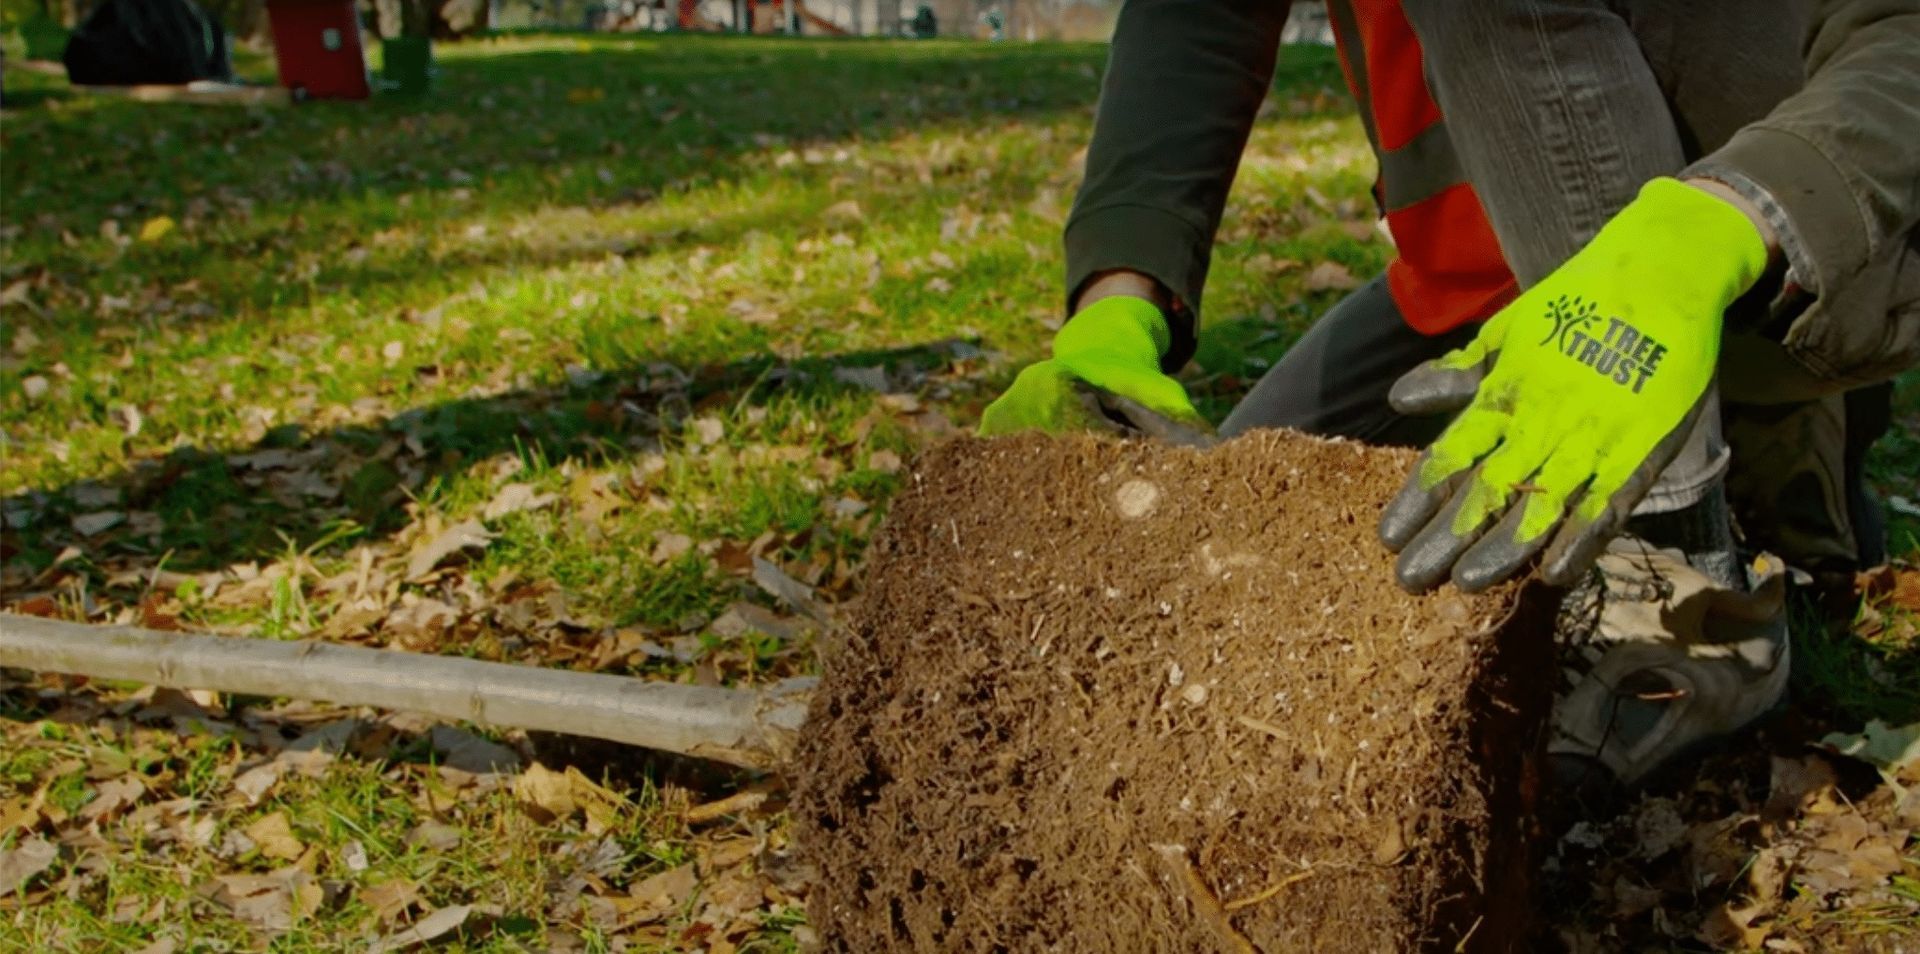
A person planting a tree in the fall for the best results.
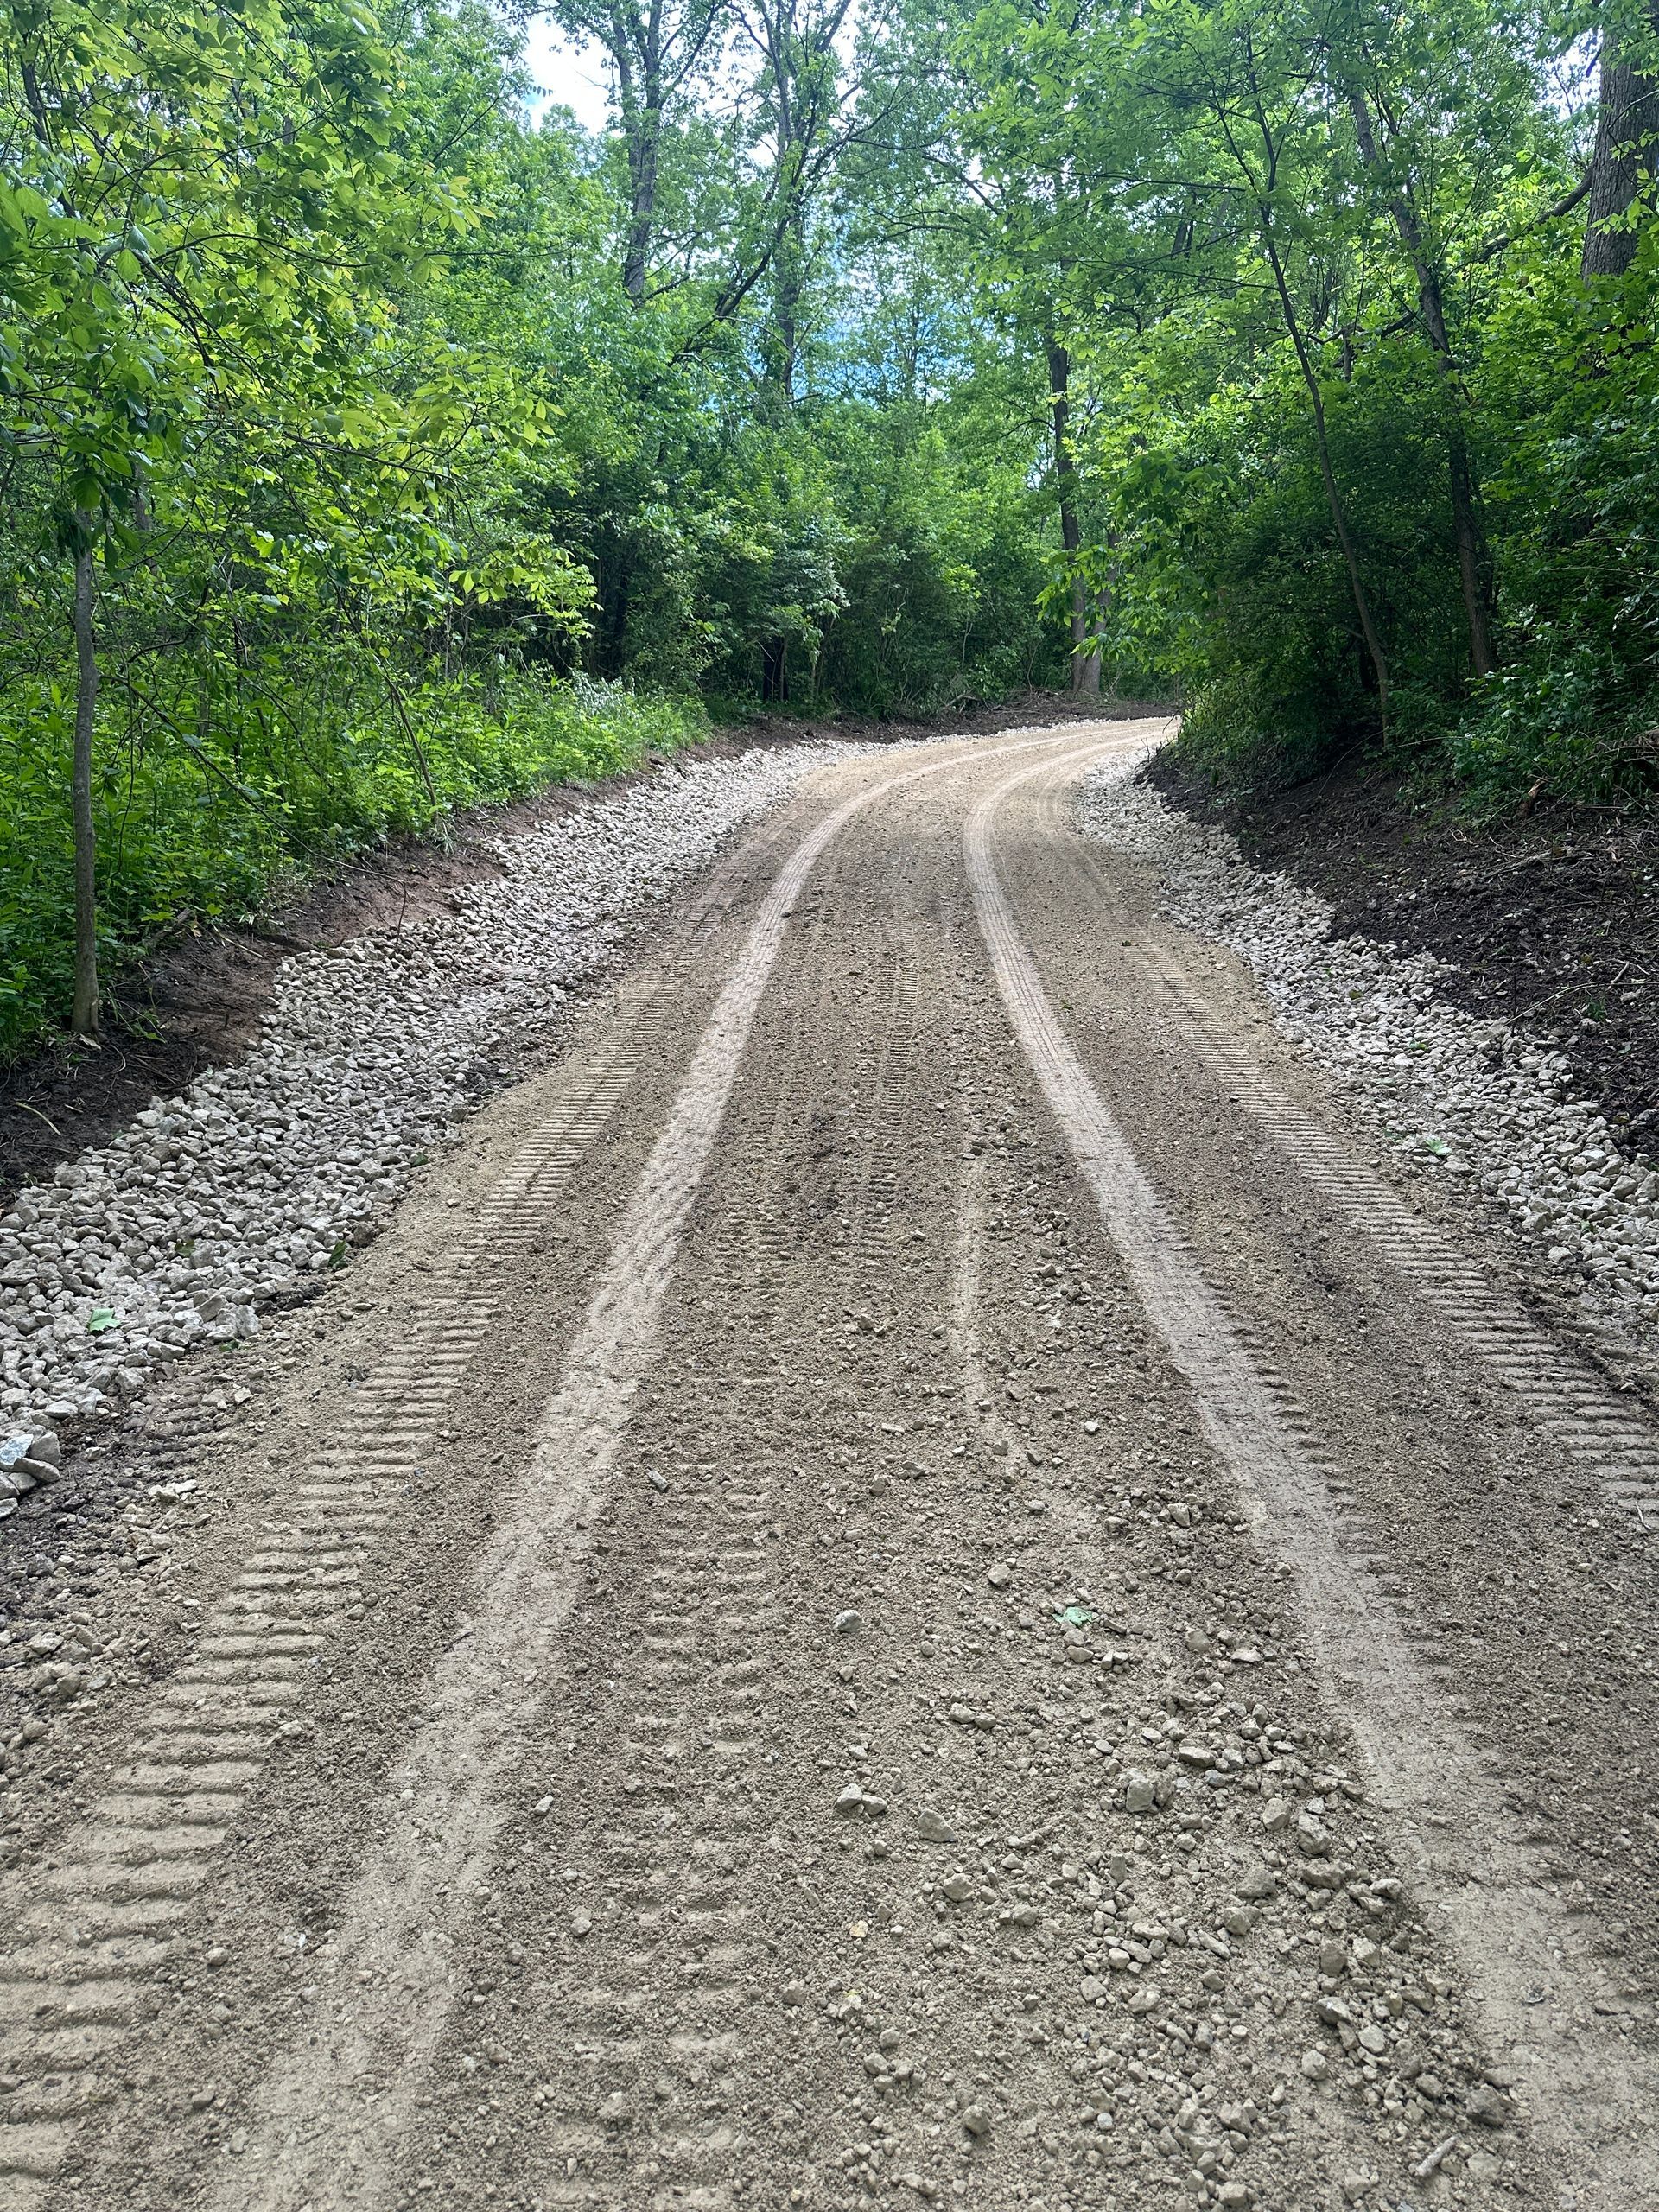
Maintaining a gravel driveway can be a rewarding task, and one of the most effective ways to keep it in top shape is through topdressing. Topdressing involves adding a fresh layer of gravel to the existing driveway surface to restore its appearance, improve functionality, and extend its lifespan. Below, we explore the key benefits of topdressing your gravel driveway. 1. Restores Aesthetic Appeal Over time, gravel driveways can become worn, with bare patches, ruts, or scattered stones. Topdressing replenishes the surface with fresh gravel, giving it a clean, uniform look. A well-maintained gravel driveway enhances your property’s curb appeal, making it more inviting for visitors and potential buyers. 2. Improves Surface Stability Daily use, weather, and natural settling can cause gravel to shift or compact unevenly, leading to potholes or uneven surfaces. Adding a new layer of gravel through topdressing fills in low spots and creates a smoother, more stable driving surface. This improves safety and comfort for vehicles and pedestrians alike. 3. Enhances Drainage Proper drainage is critical to preventing water pooling and erosion on a gravel driveway. Topdressing with the right type and size of gravel—such as angular stones that interlock—helps maintain proper drainage channels. This reduces the risk of water damage and keeps your driveway functional even during heavy rain. 4. Extends Driveway Lifespan Regular topdressing protects the underlying base of your driveway by preventing excessive wear. By addressing minor issues like thinning gravel or small potholes early, you can avoid costly repairs or a full driveway replacement. A well-maintained gravel driveway can last for decades with proper care. 5. Cost-Effective Maintenance Compared to repaving an asphalt or concrete driveway, topdressing a gravel driveway is a budget-friendly maintenance option. The materials and labor required are relatively inexpensive, and the process is straightforward enough that homeowners can often do it themselves with the right tools and materials. 6. Prevents Weed Growth A thin or patchy gravel layer can allow weeds to take root, detracting from your driveway’s appearance and causing structural issues. Topdressing adds a fresh, thick layer of gravel that suppresses weed growth by blocking sunlight and making it harder for seeds to germinate. 7. Customizable Appearance Topdressing gives you the opportunity to refresh or even change the look of your driveway. You can choose gravel in different colors, sizes, or textures to match your home’s aesthetic or landscape design. This flexibility allows you to personalize your driveway while maintaining its functionality. How to Topdress Your Gravel Driveway To get the most out of topdressing, follow these steps: 1. Clear Debris: Remove weeds, leaves, and other debris from the driveway. 2. Grade the Surface: Use a rake or grader to smooth out ruts and potholes. 3.Choose the Right Gravel: Select gravel that matches your existing driveway or opt for a new style, ensuring it’s angular for better interlocking. 4.Spread Evenly: Apply a 1-2 inch layer of gravel evenly across the surface. 5.Compact the Gravel: Use a roller or tamper to compact the new layer for stability. Conclusion Topdressing your gravel driveway is a simple yet highly effective way to maintain its beauty, functionality, and durability. By addressing wear and tear, improving drainage, and preventing weed growth, topdressing ensures your driveway remains a reliable and attractive feature of your property. Whether you’re looking to boost curb appeal or extend the life of your driveway, regular topdressing is a smart investment for any gravel driveway owner.