Spring Rains and Managing Water: A Homeowner’s Guide
Adam Lawson • April 8, 2025
# Spring Rains and Managing Water: A Homeowner’s Guide
Spring has arrived, and with it, the rains have been relentless this year. If you’re like me, you’ve probably noticed the puddles forming in your yard, the soggy patches near the foundation, or maybe even a little water creeping into the basement. It’s beautiful to see nature in full swing, but all this water can wreak havoc if it’s not managed properly. Let’s talk about why drainage matters and some practical solutions—like French drains and buried downspout systems—to keep your property safe and dry.
The Deluge of Spring 2025
Here we are in early April 2025, and the rain just won’t quit. I swear, it feels like every other day we’re getting another downpour. It’s great for the plants (my tulips are loving it), but it’s also a reminder that water needs somewhere to go. Poor drainage can lead to eroded soil, damaged foundations, and even mosquito breeding grounds. So, what can we do about it? It starts with understanding how water moves around your home and taking steps to guide it away.
Why Proper Drainage Matters
Water is sneaky—it finds the path of least resistance, and that’s not always where you want it to go. If your yard slopes toward your house, or if your downspouts dump water right next to the foundation, you’re asking for trouble. Over time, that moisture can weaken concrete, rot wood, and turn your basement into an unintended swimming pool. Good drainage redirects water away from your home, protecting your investment and keeping your sanity intact.
French Drains: The Underground Hero
One of my favorite solutions is the French drain. Despite the fancy name, it’s pretty straightforward: a perforated pipe buried in a gravel-filled trench that collects and redirects water. I installed one along the side of my house last year, and it’s been a game-changer during these spring rains.
Here’s how it works: Dig a trench (about 18-24 inches deep and 12 inches wide) sloping away from the problem area—aim for a 1% grade (1 inch drop per 10 feet). Line it with landscape fabric to keep soil out, add a layer of gravel, then lay in the perforated pipe (holes facing down). Cover it with more gravel, wrap the fabric over the top, and finish with soil or sod. The water seeps into the pipe and gets carried away, ideally to a spot like a dry well or a street drain. It’s low-maintenance and invisible once it’s done—perfect for keeping your yard looking sharp.
Burying Downspout Drainage
Speaking of downspouts, those things can be a blessing and a curse. They get water off your roof, but if they’re just spilling it onto the ground near your house, you’re not solving the problem—you’re moving it. Burying downspout drainage is a slick fix. I did this last weekend, and it’s already made a huge difference.
Grab some 4-inch corrugated pipe (the flexible black stuff works great), attach it to your downspout with an adapter, and run it underground to a safe discharge point—at least 10 feet from your foundation. Dig a shallow trench (6-12 inches deep), slope it slightly, and bury the pipe under a thin layer of soil. You can even add a pop-up emitter at the end so the water surfaces away from your house without cluttering your yard. It’s simple, affordable, and keeps that roof runoff from pooling where it shouldn’t.
Other Tips for a Dry Spring
Gutters - Clean them out! Clogged gutters overflow and send water straight down your walls. I check mine every couple of weeks during rainy season.
Grading - If your yard slopes toward the house, consider regrading with a few inches of soil to tilt it the other way. It’s a bigger job, but it pays off.
Rain Barrels - Collect some of that water for your garden. It’s a win-win—less runoff and free irrigation.
Wrapping Up
These spring rains are a reminder of how much water we’re dealing with, but they don’t have to be a headache. Whether it’s a French drain quietly doing its job underground or a buried downspout line whisking water away, a little effort now can save you from big problems later. If you lack confidence in tackling these tasks on your own, contact us at Signature Hardscape for expert assistance with all your drainage requirements. Our team is ready to provide professional solutions tailored to your needs.
Stay dry out there!

Brick walk way with leaves on it and pumpkins by it.
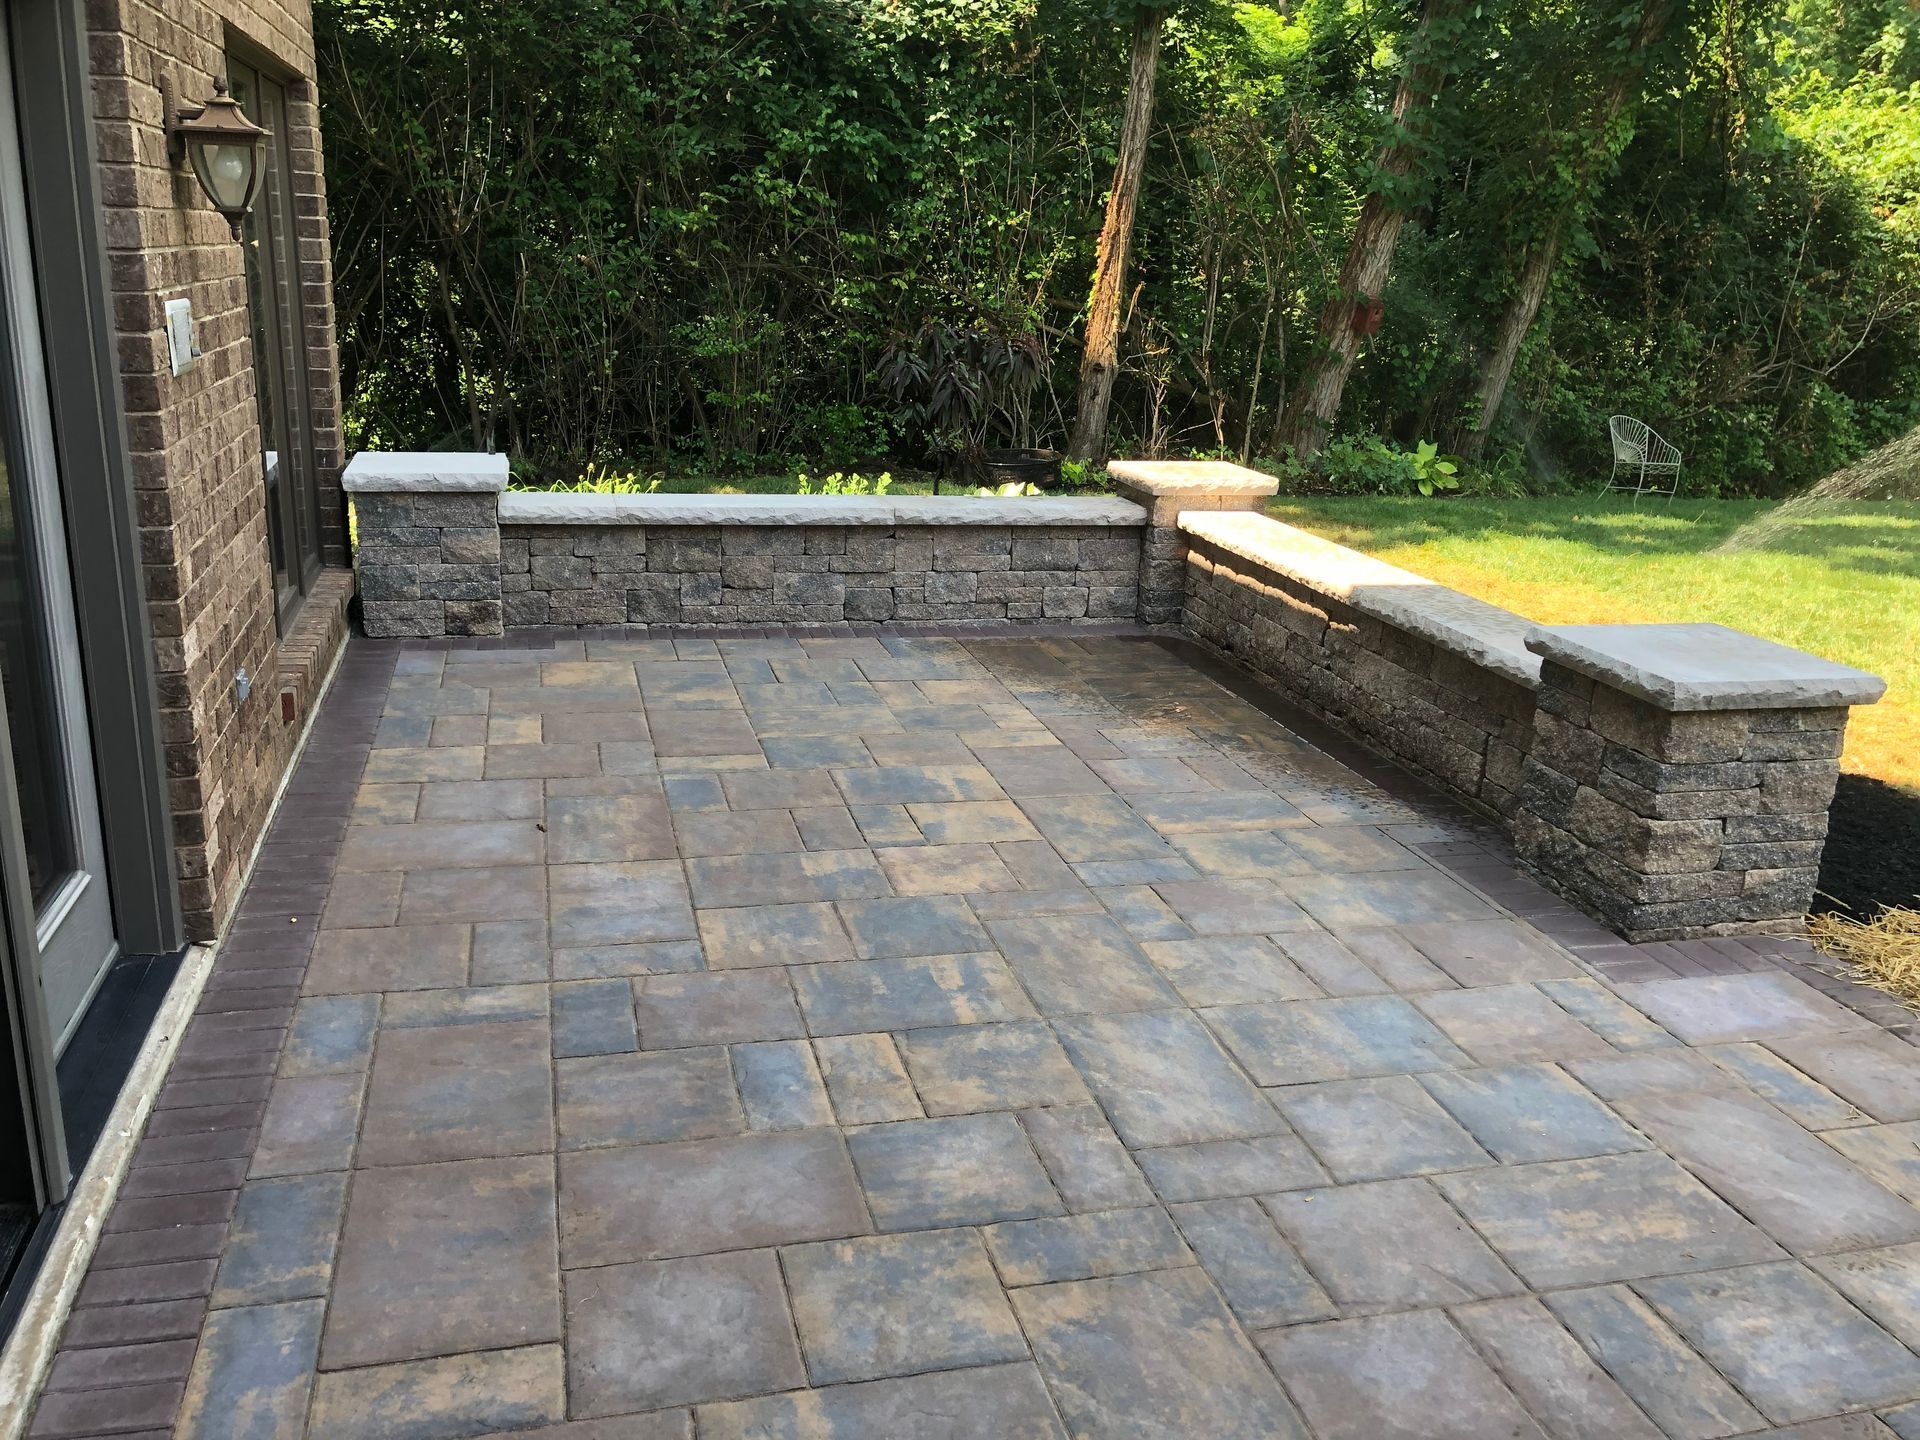
Paver patio with sitting wall and columns.
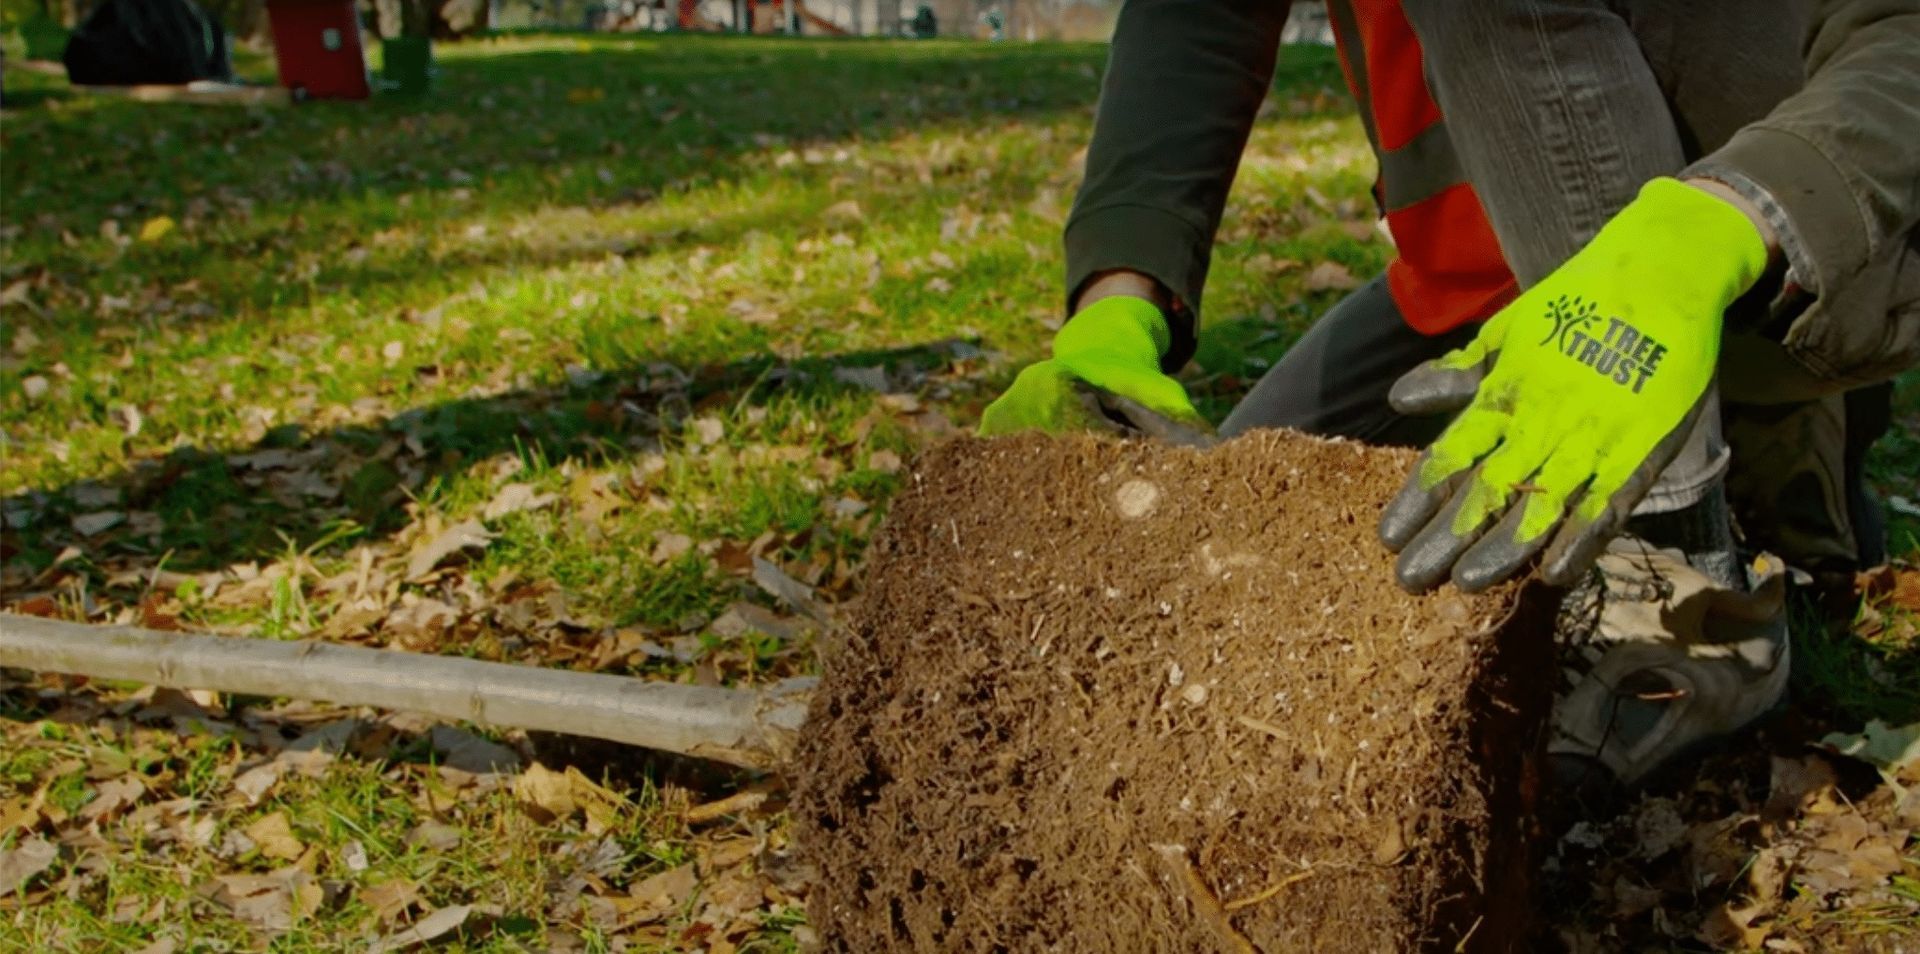
A person planting a tree in the fall for the best results.